


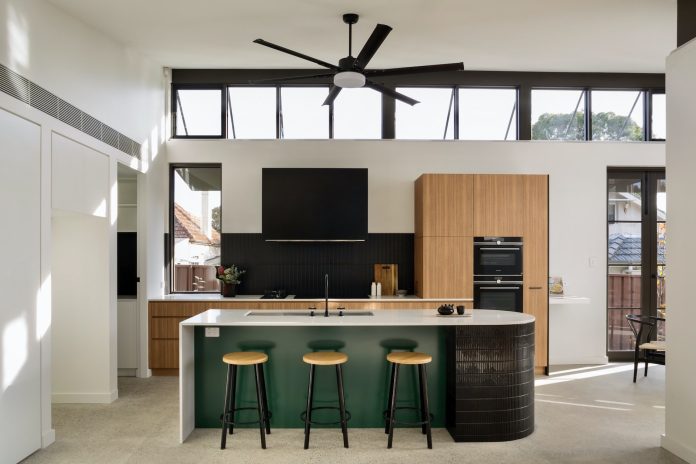
Put in Your Ceiling Fan and Cut Your Cooling Costs
Are you looking for a way to cut your cooling costs this summer? First, you should consider putting in a ceiling fan. Ceiling fans can make the ambient temperature much cooler by creating a nice breeze. And they’re easy to install yourself, as long as you have an existing light fixture in the ceiling near where you want to install the fan. Just take it one step at a time.
1. Turn Off the Breaker that Controls Your Fan
Turning off the power to the circuit you’re about to work on is essential to your safety. You could get a nasty shock and even be hurt or killed if you forget this crucial step. Go to your breaker box and cut power to the circuit where you’ll be installing a ceiling fan. If you want to buy a smart ceiling fan, make sure the wifi signal is strong enough to reach the room where you’re hanging the fan.
2. Disconnect and Remove the Fixture You’re Replacing
If you’re replacing an old ceiling fan with a new one, take off the blades first and then detach the fan motor and downrod from the ceiling plate. If you’re taking down an old light fixture, remove the bulb cover and bulbs and unscrew the screws that fasten the light fixture to the electrical box in the ceiling. Pull it down, remove the plastic wire nuts from the wiring connections, and set them aside. Untwist the connected wires and set the old fixture aside. You can donate it to your local Habitat for Humanity.
3. Replace the Electrical Box in the Ceiling
If you’re replacing an old ceiling fan, you likely already have a fan-rated electrical box in your ceiling. Check to make sure. If you’re replacing an old light fixture, you will need to replace the electrical junction box in the ceiling, too. If it is anchored to the joist, you must use a pry bar to wrench it off. If it is attached to a brace between the joists, remove it from the brace and then pry the brace from between the joists. You will need to install a new fan brace between the joists to ensure that the new electrical box is securely anchored. If possible, fasten the new electrical box directly to the joist.
4. Get the Fan Motor Ready to Hang
You will have to perform some assembly of your fan motor, mainly attaching the downrod and canopy. Again, your fan will come with assembly instructions. In general, though, you can pass the wires coming out of the top of the fan motor through the downrod and then screw the downrod into the threaded hole on the top of the fan motor. Then you can attach the canopy to the top of the downrod. If your fan doesn’t have a downrod, the canopy will attach directly to the top of the fan motor.
5. Secure the Ceiling Mounting Plate
Use 1.5-inch machine screws to attach the ceiling mounting plate to the electrical box in the ceiling.
6. Install the Fan Motor
To install the fan motor, hang it from the hook on the ceiling mounting plate, then connect the fan motor wiring to your house wiring. To do this, just match up the colors. For example, a black wire should connect to a black wire, a white wire to a white wire, and so on. Make sure you wrap the green or bare wire, which is the ground, around the grounding screw in the electrical box, which should also be painted green. Tighten that screw to hold the ground wire in place.
Once you have twisted the ends of the wires together, you can secure the connections with wire nuts. You might reuse the same wire nuts you removed from the connections when you removed the old fixture. Then you can anchor the downrod in the mounting plate and secure the fan canopy.
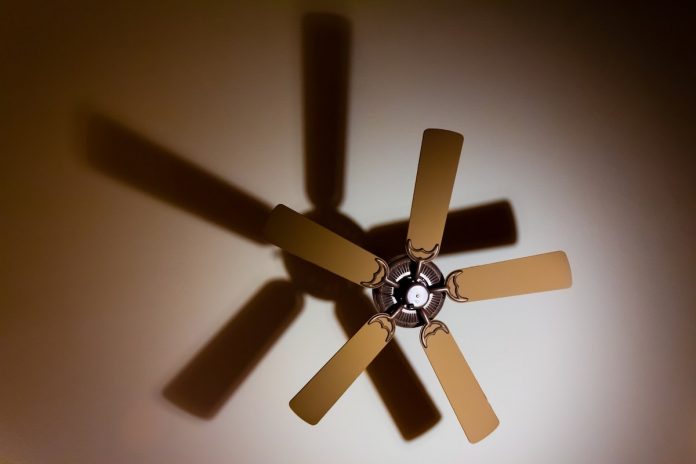
Complete the Fan Assembly and Begin to Cut Your Cooling Costs
Finish your fan installation by installing the light fixture and the fan blades. Connect the wiring for the light fixture the same way you connected the wiring for the fan motor. Secure the fixture to the motor with the screws, then attach light bulb covers and bulbs. Attach the fan blade brackets to the fan blades and secure them to the fan motor housing. Turn the power back on, and make the most of your new fan!


