


How Simple It Is to Replace a Ceiling Fan
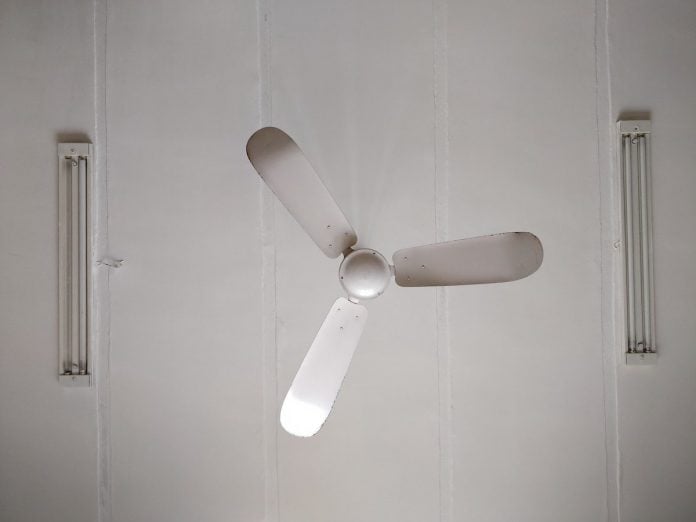
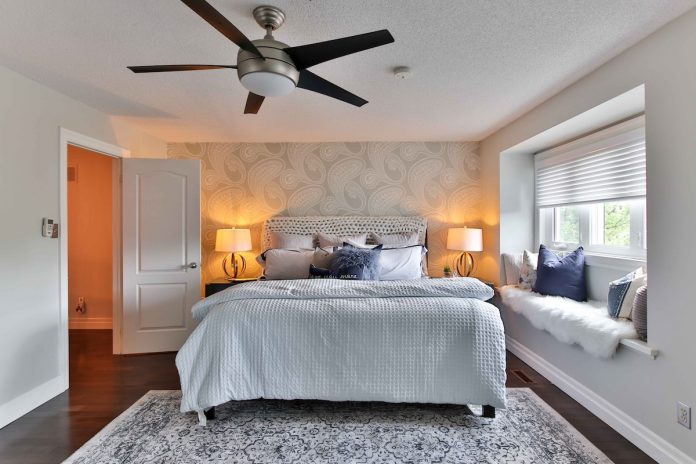
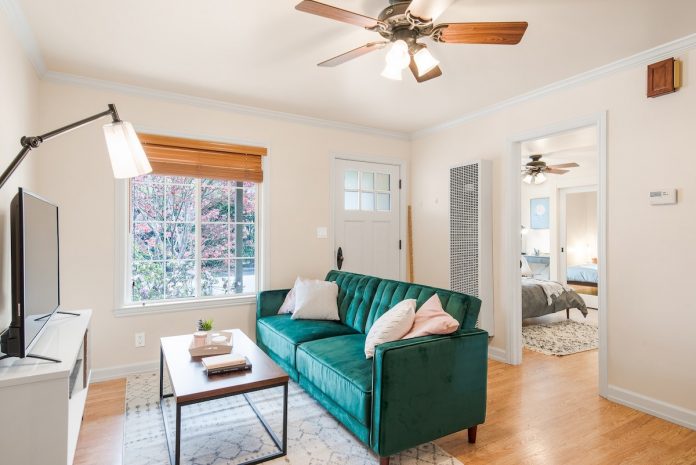
Do you have an ugly old ceiling fan you’d like to get rid of? Replacing it with a sleek, new modern fan, a steampunk dual-motor fan, or a laid-back tropical-style palm-leaf fan is easier than you might think. It’s just a matter of disconnecting the old fan and then connecting the new fan up the same way. Here are some steps to find out how simple it is to replace a ceiling fan.
1. Make the Electrical Circuit Safe
The first thing you should do before working on any of the wirings in your home makes the circuit safe by shutting it off at the breaker box. Suppose you don’t know which breaker corresponds to which circuit in your home. Use a circuit breaker finder to map your home’s circuits. Then, test the voltage to the outlets in the room where you’ll be working to verify that the power is off before you give yourself a nasty shock.
2. Get Some Help
You might need someone to help you remove the old fan and hoist the new fan up. Ceiling fans tend to be pretty heavy and bulky. If you have to do the job alone, remove the old fan in pieces – remove the light bulbs and bulb covers, and detach the blades before you try to take down the fan motor.
3. Take Down the Old Fan
At the top of your fan’s downrod or the top of the fan motor housing itself, if you’re replacing a flush mount fan, you will find a metal canopy that attaches to the mounting plate on the ceiling. Remove the canopy to reveal the mounting plate and detach the downrod from the mounting plate.
There might be a hook on the fan motor. Hang it from the mounting plate while you disconnect the wiring. Remove the wire nuts and pull apart the twisted wire connections. Take down the fan motor assembly and detach the ceiling mounting plate from the electrical box.
4. Check the Electrical Box and Fan Brace
If you are replacing an existing fan, chances are you already have a fan brace and the appropriate fan-rated electrical box in your ceiling. Check that your fan’s electrical box is attached to a joist or an expandable metal fan brace. Make sure the electrical box is rated for fans and in good condition. If it looks old, replace it anyway.
5. Get the New Fan Motor Ready
Assembling the new fan motor should be pretty straightforward, but if you need help, refer to your fan’s assembly instructions. First, attach the downrod to the top of the fan motor, carefully pulling the electrical wiring through the downrod. Then put the canopy on the other end of the downrod. Finally, attach the ceiling mounting plate to the electrical box in the ceiling.
6. Install the New Fan Motor
Installing the fan motor is probably the most complicated part of installing your own ceiling fan. If your fan motor has a hook, you can hang it from the ceiling mounting plate while you wire it up. Otherwise, you’ll need a helper to hold the fan motor up close to the ceiling plate. Next, connect the white wire from your ceiling to the white wire from your fan, the black wire to the black wire, and the ground (usually green or bare copper) to the ground. To connect the wires, twist their bare ends and cover them with wire nuts. Finally, fasten the downrod and canopy to the ceiling mounting plate.
7. Attach the Fan Blades
Now it’s time to attach the blades to your fan. Each blade should have a corresponding blade bracket that attaches to the blade with screws (however, some models of fans may come with the blades already attached to the motor housing). Screw the blade brackets to the fan blades and then screw the blades to the fan motor.
8. Hook up the Light Fixture
If your new fan comes with a built-in light fixture, then hooking it up will be the final step of your fan installation. You will either need to wire up the lights the same way you wired up the motor, or you will be able to plug the lights into the fan motor. Wire the light fixture and attach it to the fan motor housing as directed in the fan’s assembly instructions. Then add bulbs, bulb covers, and presto – you have a stylish new ceiling fan; how simple it is to replace a ceiling fan after you read this article?


