


8 Creative Ways to Use Backpacking Pillows as Home Decor
Backpacking pillows are essential for backpackers who travel frequently but can also be repurposed as home decor items. In addition, these pillows are usually compact and lightweight, making them ideal for camping trips. However, with a little creativity, you can turn them into unique decor pieces that add character and charm to your living space. In this article, we’ll explore some creative ways to use backpacking pillows as home decor items:
- Throw pillows
- Floor cushions
- Pet beds
- Wall art
- Table runners
- Ottoman poufs
- Headboard cushions
- Customized pillow covers
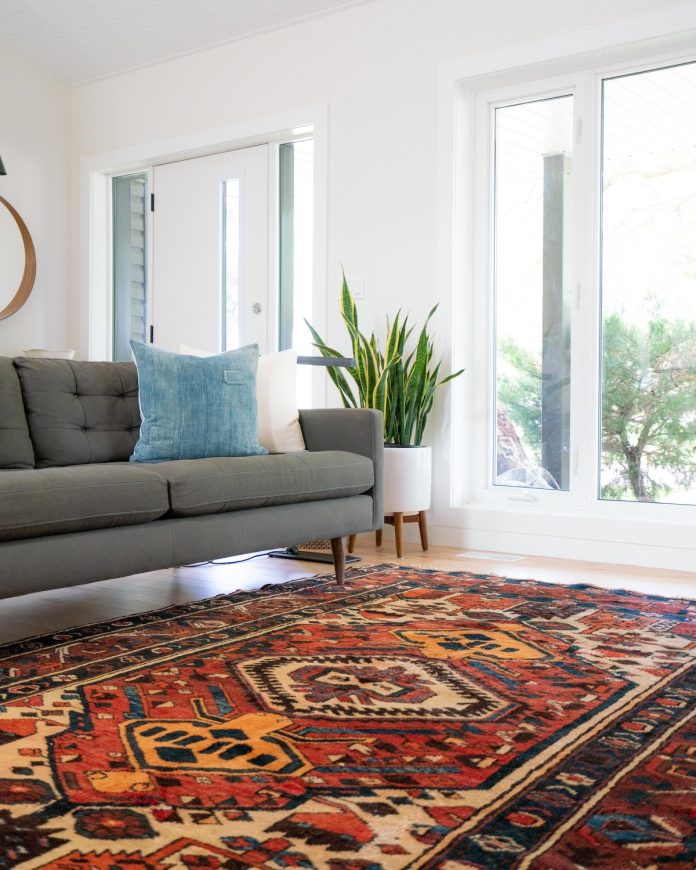
1. Throw Pillows
Throw pillows are a great way to add style, comfort, and color to any space. They can be used for decorative and practical purposes, such as providing back and neck support when sitting, offering a cozy cushion for your morning coffee, or adding an extra layer of warmth and texture to a room.
These pillows are also great for sprucing up a room quickly, as they are usually affordable and easy to switch out with the seasons. They can also help create visual balance, soften sharp edges, and bring a sense of coziness to any room.
But if you don’t have the budget for one, try turning an old backpacking pillow into a throw pillow. It’s easy, quick, and a great way to repurpose the old travel pillow you no longer need while adding a unique touch to your home.
You will need the following items for the purpose:
● Old camping pillows
● A sewing machine
● Fabric (cotton or linen)
● Stuffing (memory foam, polyfill, Down, kapok, microfiber, etc.)
● Thread
● Zipper
The process is pretty straightforward and includes these eight steps:
- Gather all the materials required to start the process.
- Cut the fabric into either squares or rectangles, based on the shape you need.
- Leave extra fabric on each side to allow seam allowances.
- Place the right sides of the fabric together and sew around three sides, leaving one side open to create the pillow cover.
- Sew the zipper to the final side of the pillow cover using a sewing machine or needle and thread to keep it open.
- Stuff the pillow into the pillow cover, ensuring it is evenly distributed, and add additional stuffing if needed.
- Add finishing touches once the pillow cover is sewn closed, including buttons, tassels, or embroidery.
- Repeat the process with any additional pillows to create a set of matching throw pillows.
Presto! You have created quite a motley crew!
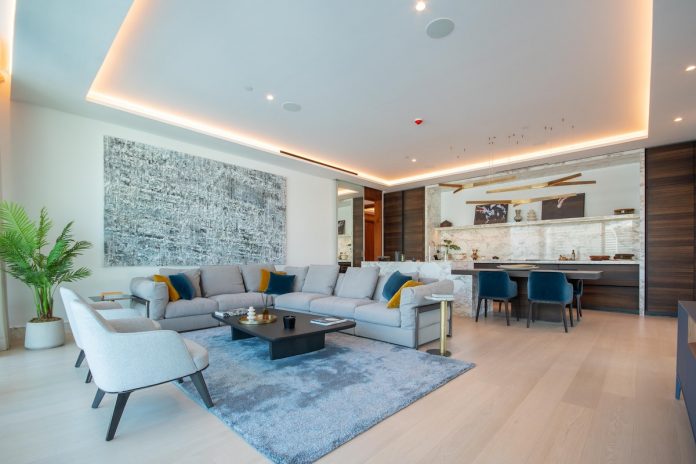
2. Floor Cushions
Floor cushions are a great way to add comfort and style to any living space. They come in various shapes and sizes and are handy for various purposes.
These cushions provide extra padding to hardwood or tile floors, making them more comfortable to sit or lie on. They can also be used to create extra room seating or add a stylish accent to a space.
Floor cushions are an affordable and versatile decorating option and can help make any home look more inviting and comfortable. However, instead of buying one, you can create it from backpacking and camping pillows that are no longer in use.
This is an excellent option if you want additional seating in your living room but don’t want to spend much on it.
To make floor cushions out of old travel pillows, you will need the following materials:
● Old camping pillows
● Fabric of your choice
● Scissors
● Sewing machine or needle and thread
● Measuring tape or ruler
● Pins
Check out these 9 steps to get the process started:
- Measure the dimensions of your pillows.
- Cut two squares of fabric slightly larger than your pillow dimensions to serve as the cushion cover’s top and bottom pieces.
- Cut two strips of fabric for the sides of the cushion cover of the same length as the perimeter of the pillow plus 1″ and a width equal to the height of the pillow plus 1″.
- Pin the two strips of fabric to opposite sides of one of the square pieces of fabric, with the right sides facing together. Using a seam allowance of ½”, sew along the pinned edges.
- Pin the remaining two strips of fabric to the remaining sides of the square fabric piece. Using a seam allowance of ½”, sew along the pinned edges.
- Take the other square piece of fabric and pin it to the sides of the cover with the right sides together. Leave a small opening on one of the sides to insert the pillow.
- Sew the pinned edges together using a ½” seam allowance.
- Turn the cushion cover right side out and insert the pillow.
- Close the opening by sewing it up.
Your floor cushion is now ready to use!
3. Pet Beds
Pet beds provide a comfortable and supportive surface for your pets to sleep on, which can help improve their overall health and well-being. These beds can also help prevent joint pain and hip dysplasia, providing extra cushioning and support.
Moreover, pet beds keep pets warm during cold nights by creating a barrier between their body and colder air. Your old backpacking pillows can come in handy while making pet beds for your furry friends.
To make a pet bed, you will need the following materials:
● Old camping pillows
● Fabric or old bed sheets
● Scissors
● Sewing machine or needle and thread
● Measuring tape
To get started, check out these 8 simple steps:
- Measure the length, width, and thickness of your pillow.
- Cut your fabric or bed sheets according to the measurements of the pillows.
- Lay the fabric or bed sheets flat and place the pillow in the center.
- Fold the fabric or bed sheet around the pillow, leaving enough fabric on all sides to sew it closed.
- Sew along the edges of the fabric, making sure to close all sides except for one.
- Turn the fabric inside out so that the pillow is now enclosed in the fabric.
- Insert the remaining pillow(s) into the fabric cover(s).
- Sew the remaining side closed using a sewing machine or needle and thread.
Your pet bed is now ready!
4. Wall Art
Wall art is any decorative item hung on a wall to enhance the room’s aesthetics. It can be a painting, a photograph, a sculpture, or any other form of artistic expression. But if you’re feeling particularly creative, you can turn backpacking pillows into wall art. Let’s discuss how.
Firstly, you’ll need the following materials:
● Old camping pillows
● Scissors
● Double-sided tape or adhesive strips
● Decorative elements such as ribbons, beads, or other embellishments (optional)
● A damp cloth or washing machine to clean the wall art once done
To make wall art out of the pillows, you can follow these 6 simple steps:
- Take backpacking pillows of the same size or different sizes.
- Clean the pillows thoroughly with a damp cloth or put them in the washing machine before you start working on your wall art.
- Cut the pillows using scissors into circles, squares, or any other shape you like.
- Arrange the pillows flat to see how they will look on the wall. You can play around with the arrangement until you find the perfect design.
- Attach the pillows to the wall using double-sided tape or adhesive strips. Space them evenly and secure them well, so they do not fall off.
- Add finishing touches with decorative elements such as ribbons, beads, or other embellishments to enhance the look of your wall art.
Take a step back and admire the art you just created!
5. Table Runners
Table runners provide an elegant dining table aesthetic while protecting the surface from spills and scratches. They are available in various sizes, styles, and materials to suit any décor and taste.
They often create a focal point on a table with vibrant, colorful designs that capture the eye. Apart from protecting the surface of a table, table runners can also be used to provide insulation from hot dishes and act as a barrier to prevent crumbs and other debris from settling on a table.
But you don’t always have to buy one to spruce up your dining table. Instead, you can use backpacking pillows to make table runners out of them. Read on to learn how.
These are the materials you’ll need:
● Old camping pillows
● Scissors
● Sewing machine or needle and thread
● Measuring tape
Follow these 5 simple steps to turn your old travel pillows into table runners in no time:
- Measure the length of your table and add a few inches for overhang. This will be the length of your table runner.
- Cut your pillows into rectangular strips the same length as your table runner and approximately 12″ -14″ wide.
- Arrange the side of the strip by the side and sew them together to create a larger fabric piece. If your strips are not long enough, you can sew them end to end to create a longer strip.
- Old the edges of the sewn strips under and sew a hem along the length of the table runner to prevent fraying.
- Place your new table runner on your table and enjoy!
Please note that you may need to adjust the number of strips and the width of each strip depending on the size of your table and the thickness of your pillows.
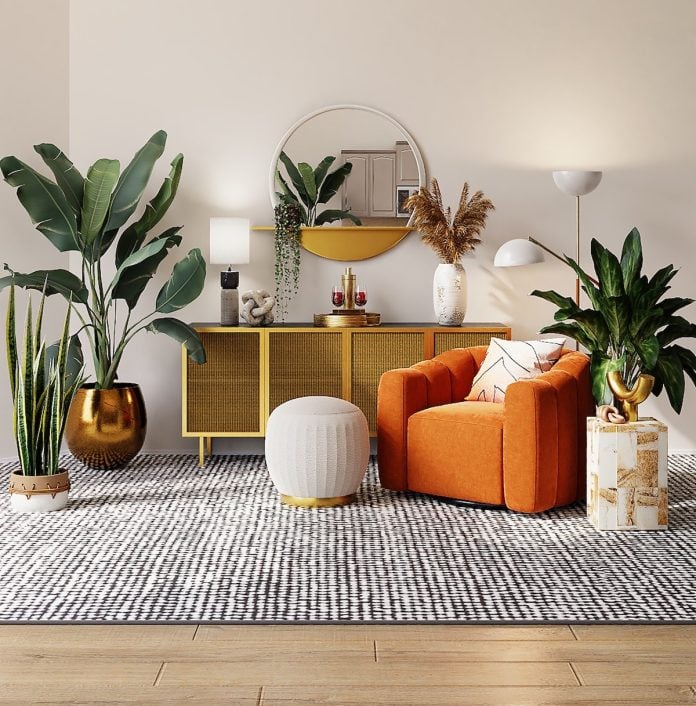
6. Ottoman Poufs
Ottoman poufs are a great addition to any living space, providing a comfortable seating area without taking up much space. In addition, they come in various shapes, sizes, and styles, allowing you to mix and match them to suit your needs.
An Ottoman pouf can make a great footrest, too, and can be used as an extra place to sit in a pinch. These poufs are a great way to add a touch of style and comfort to any room without breaking the bank.
But if you want to get creative, turn old backpacking pillows into Ottoman poufs. To avoid creating confusion, we’ll discuss just one type of Ottoman poufs – the ones that are round in shape.
To make a round Ottoman pouf out of old travel pillows, you’ll require the following items:
● 3 to 4 old camping pillows
● Fabric scissors
● Ruler or measuring tape
● Needle and thread or sewing machine
● Fabric of your choice for covering the pouf
● Zipper
● Foam padding or cotton batting
● Piping cord (optional)
You must then follow these 7 simple steps to get started:
- Measure the height and diameter of your ottoman pouf. This will determine the size of your pillows and the amount of fabric you need to cover them.
- Cut the pillows into equal sizes. The size will depend on the diameter you want for your pouf. You can use a ruler or measuring tape to ensure the pieces are the same size.
- Arrange the pillow pieces in a circular pattern and sew them together. You can use a sewing machine or hand-sew them together.
- Begin to cover the pouf once you have sewn all the pieces together. Cut your chosen fabric into a circle slightly larger than your pouf’s diameter.
- Sew a zipper onto the fabric circle, leaving enough space for the pouf to fit inside. This will allow you to easily remove and wash the cover.
- Add foam padding or cotton batting around the pouf to make it more comfortable to sit on. You can also add a piping cord around the edges of the pouf for a more professional finish.
- Place the pouf inside the cover and zip it up.
Your round Ottoman pouf is now complete! You can repeat these steps to make more Ottoman poufs in different shapes. This is an excellent way to recycle old pillows and give them a new purpose in your home.
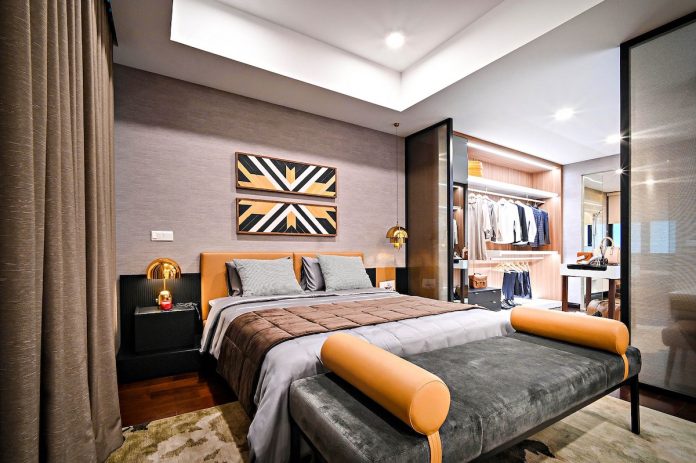
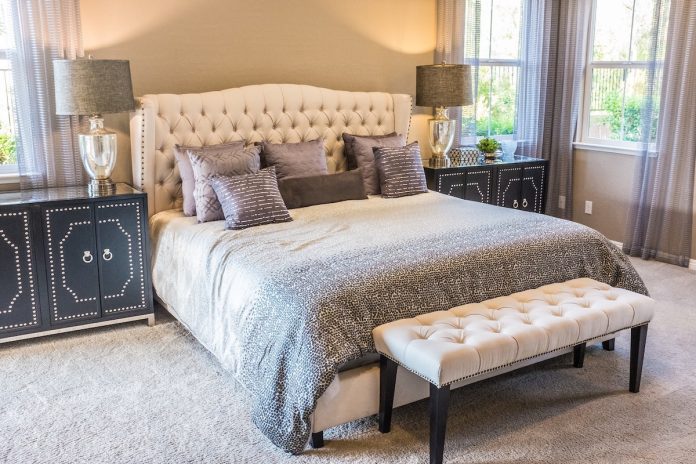
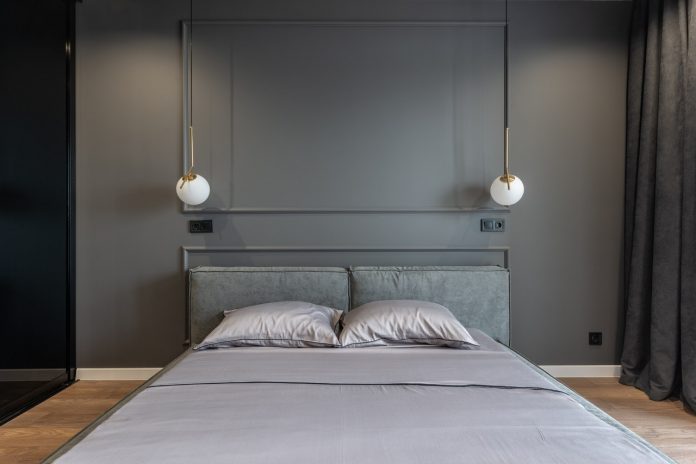
7. Headboard Cushions
Headboard cushions add both comfort and style to any bedroom. They provide extra support and comfort when sitting up to read or watch TV in bed and add a decorative touch to the room.
They come in various styles and colors to match any decor, and they can be made from various fabrics, from cotton and polyester to velvet and suede. But you can also create your headboard cushions from scratch using old travel pillows. So let’s find out how.
You’ll require the following materials:
● Old camping pillows
● Fabric (enough to cover the pillows)
● Sewing machine
● Scissors
● Pins
● Thread
● Needle
● Staple gun
Make headboard cushions out of old travel pillows in these 10 simple steps:
- Gather all the materials to get started.
- Measure the size of your headboard and add a few inches to each side.
- Cut the fabric to this size.
- Fold the fabric in half so the right sides face each other.
- Sew the two long sides and one of the short sides together, then turn the fabric right side out.
- Place the pillows inside the fabric cover. If the size is too large, reduce it by cutting them down.
- Fold the remaining short side of the fabric and pin it in place.
- Use a sewing machine to sew the remaining side closed.
- ● Use a needle and thread to add tufting to the cushion. Push the needle through the fabric and the pillow to the other side, then pull it tight and tie a knot. Repeat this process every few inches to create a tufted effect.
- ● Use a staple gun to attach the cushion to the headboard. Start at the top and work your way down, pulling the fabric tight as you staple.
And there you have it – your DIY headboard cushion made from old backpacking pillows!
8. Customized Pillow Covers
Customized pillow covers are a way to personalize a living space. They can match existing decor or add a pop of color and texture to a room. Customized pillow covers also provide practical benefits, such as protecting pillows from dust and dirt and extending their lifespan.
Additionally, such pillow covers can make great gifts, as they are unique and personal. If you are looking for materials, your old travel pillow could be just what you need! Let’s discover how to turn a backpacking pillow into a custom cover.
For this project, you’ll require the following materials:
● Old camping pillow(s)
● Fabric (amount depends on the size of the pillow(s))
● Scissors
● Sewing machine or needle and thread
● Pins
● Measuring tape
Now follow these 9 steps to get started:
- Measure the dimensions of your pillow. Take note of the length, width, and height of the pillow.
- Cut two pieces of fabric to the dimensions of your pillow, adding 1″ to the length and width for seam allowance. For example, if your pillow is 16″ X 12″, cut two pieces of fabric that are 17″ X 13″.
- Place the two fabric pieces together, so their right sides face each other. Pin the edges together, leaving a 3″ gap on one side.
- Sew around the edges of the fabric, leaving the 3″ gap open. Use a ½” seam allowance.
- Turn the fabric right side out through the 3″ gap.
- Insert the pillow into the fabric cover.
- Fold the edges of the 3″ gap inwards and pin them closed.
- Sew along the edge of the gap to close it up, using a straight stitch.
- Fluff the pillow and enjoy your new customized pillow cover!
You can use stencils, fabric paint, markers, or embroidery to add a personal touch to the pillow covers. You can also experiment with different fabrics, textures, and colors to create a one-of-a-kind design that complements your home decor.
Why Use Backpacking Pillows as Home Decor
Aside from being a creative way to repurpose old backpacking pillows, using them as home decor can also help reduce landfill waste and prevent soil pollution. We can reduce our carbon footprint and help protect the environment by reusing items.
How to Choose the Right Backpacking Pillow for Home Decor
When choosing an old backpacking pillow to turn into home decor, consider the following tips:
● Choose a pillow that is still in good condition, with no rips or stains.
● Look for a pillow with a unique design or pattern that fits your decor style.
● Consider the size of the pillow and whether it will fit the space you have in mind.
● Think about the color scheme of your room and choose a pillow that complements it.
● If you plan to use the pillow as a statement piece, look for one that is particularly eye-catching or has interesting details.
● Consider the pillow’s material and whether it will be comfortable to use as a decorative item.
● Look for pillows with sentimental value, such as those with travel or outdoor-themed designs.
In conclusion, there are numerous ways to creatively use your old travel pillows as home decor. Whether you’re making throw pillows, floor cushions, pet beds, wall art, table runners, ottoman poufs, headboard cushions, or customized pillow covers, there are plenty of options.
Using these pillows as home decor is a sustainable and eco-friendly option and a way to add a personal touch to your living space. But, when choosing them, consider their size, shape, and material. Additionally, look for pillows that are in good condition and have not lost shape.
Using old backpacking pillows as home decor is a fun and creative way to repurpose old items and breathe new life into your living space. So, the next time you plan to discard them, consider giving them a new purpose as unique and functional home decor.
Get creative and have fun!


