


6 Ways to Extend the Life of Your Deck
If you’re planning to build a deck this year, you probably know the terrific investment you’re making. To get the most ROI on this home improvement, use quality materials, hire a reputable builder, and remember the little details such as joist tape that make a difference. If you have an existing deck, now’s a great time to check how it weathered the winter and decide on any repairs it may need. If you have a wood deck, warmer weather provides a perfect opportunity to stain and seal the fibers against the elements. New or old, now is the time to take steps to extend the life of your deck. Here are our top 6 ways to extend the life of your deck:
-
Use quality lumber or composite decking
Composite decks may come with a higher price tag up front but will require no future staining or sealing and holds up strong against the seasons. Made of recycled plastics, composite decking doesn’t rot and isn’t susceptible to insect damage.
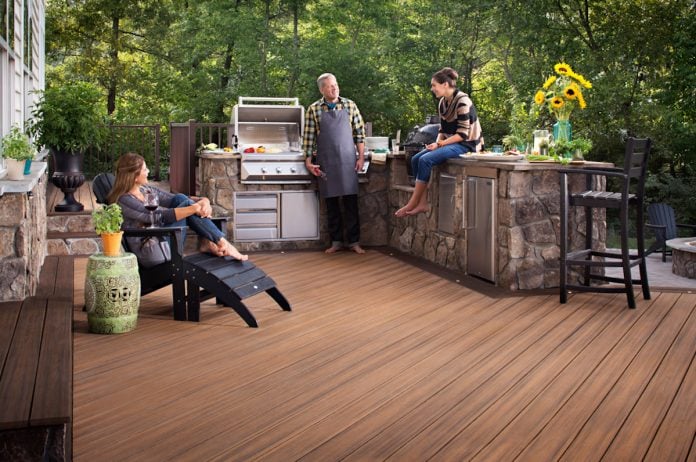
Wood decking can also be a great choice, if you take steps up front to protect against rot and damage. Some wood varieties, such as redwood, cedar and ipe, are naturally more rot and insect resistant than others. For other types of wood, be sure to use pressure-treated lumber.
-
Install flashing tape on your beams and joists during construction
With a butyl-based tape, you can protect your deck’s joists, beams, and ledger boards with a thin, waterproof membrane. Deck flashing tape helps to:
- Reduce future maintenance
- Give your deck a longer lifespan.
- Protect your deck’s structural integrity.
- Hold deck screws and fasteners tighter.

-
Annually inspect your deck for damage
Decks are not like the rest of your house, which is wrapped in layers of protective siding, insulation, and brick. Exposed to the elements year round, your deck must be tougher than the rest and needs you to keep a closer eye on its materials. Annually, you should check for:
- Signs of stress such as cracks or large splinters
- Whether the top of the joist looks wider than the rest of the joist, which may indicate that water has penetrated it
- Any soft spots — use a screwdriver to press into the wood to see if it gives
- Signs of decay at the ends of boards
- Indications of insect damage
- Rusted metal screws or fasteners
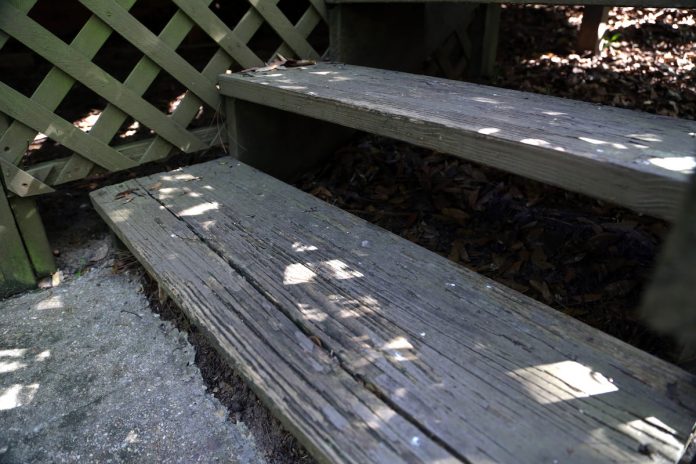
If you spot rot, you will need to replace the affected wood. Get a professional opinion on whether you can properly fix damage with a few new boards and beams or whether you need a replacement. Especially if your posts were buried in the ground (which is no longer best practice) or if your joists are spaced too far apart, you may need to replace the entire substructure.
-
Keep it clean
Sweep off your deck boards often to prevent debris from collecting in the corners and grime from getting stuck between the boards. Not only is this unattractive, but it can trap moisture that can lead to rot.
Along with sweeping, wash off the deck annually or as needed. The first step to make this effective is to clear the deck of anything touching the boards or railings. Yes, even the grill and that heavy umbrella stand! Only then can you see the stain from the errant hot dog last summer or the tannins left behind by your favorite potted plant.
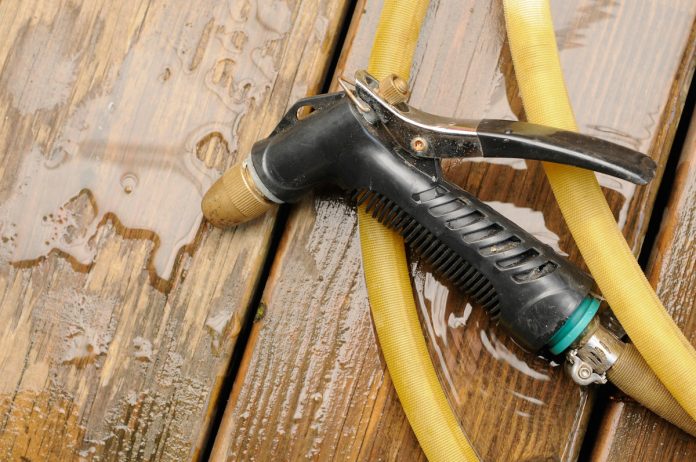
Use a cleaning solution appropriate for whether you have a wood or composite surface. Avoid pressure washers that can damage and splinter decking. If you do use a power washer, choose a low setting and a fan tip, keeping the nozzle at least 6” from the deck floor. When you’re finished cleaning, be sure to thoroughly rinse away any suds to prevent a film from remaining. After the deck has dried 24-48 hours, you can return your furnishings.
-
Stain or seal
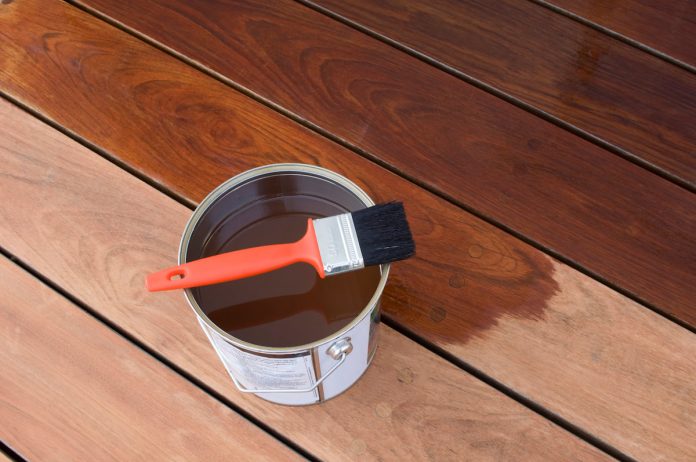
Once the deck is clean, it’s the perfect time to seal your boards if you have a wood deck. To improve the process:
— Choose a sunny day above 50°F.
— If needed, sand down any rough surfaces and then sweep off or shop vac the dust.
— Don’t shake the sealer, which can cause bubbles. Stir instead.
— Don’t rush; take your time.
— Apply the sealant in thin layers. You will likely need more than one coat to seal the wood fibers.
— Let the sealer dry completely before moving furnishings back on deck.
-
Keep plants in check
While greenery can add to the natural beauty of a garden deck, watch for creepers that can damage the wood. Cut back vegetation that may climb onto your boards and hold in moisture. Trim back tree limbs that are overhanging and likely to fall on the deck and cause damage. If you have potted plants on the deck boards, use risers or plant stands to prevent moisture from being trapped on the boards.
A little planning and maintenance goes a long way in extending the life of your deck. Make the most of your investment, then relax in your hammock for many sunshine-filled days ahead.
Thank you for reading 6 Ways to Extend the Life of Your Deck


