


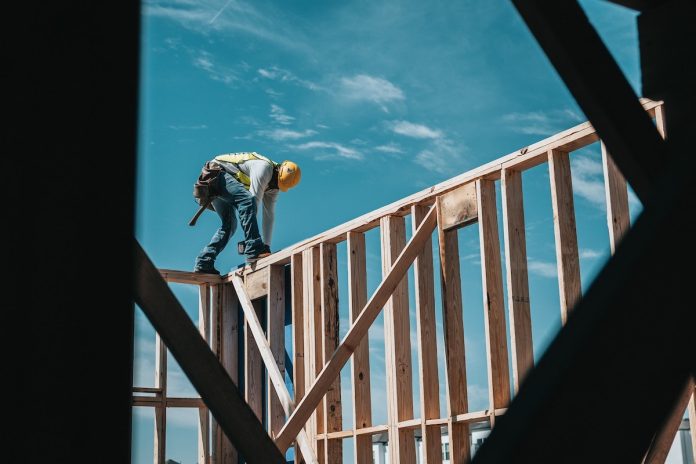
Building a Pergola as a Simple 10-Step Process
People confuse a pergola with a porch all the time, but they’re quite different from each other. A pergola has an open roof with columns or posts to hold everything up. They’re a great place to encourage vining plants to grow and can look quite beautiful when using flowering plants. Thankfully, there are easy-to-use pergola kits out there to get you started adding this nice structure to your home, or you can choose building a pergola from scratch.
1. Laying The Foundation
You should always make sure that you’re planting on hard surfaces to ensure that your 12 x 12 pergola kit stands properly. You want to lay the first three upright poles on the ground and mark the distance from the uprights, top, and bottom so that you know where to place them.
2. Marking Your Rafter
Lay a rafter in position at least 200 mm from the edges of the outer posts of your pergola. Mark the outlines of the post tops so that you know where they’re going to go. Number each upright post so that they match up with the position you’ve marked on the rafter.
3. Cutting Your Wood
Cut the wood using a saw, mallet, and wood chisel. You want to ensure that everything is a tight fit together so that your pergola doesn’t move.
4. Profiling The Ends
The ends of the rafters and the crossbeams need to be profiled so that they can fit together. Measure about 25 mm from the top and 75 mm from the outer edge. Connect these points and then see off the marked wedge.
5. Making The Post Holes
Use the rafters as a guide to mark out the post holes you’re going to need. Square the ends up and line them up parallel with each other so that you know precisely where each post hole needs to be.
6. Marking The Post Holes
Use a few wooden canes to mark where these post holes should be and dig them to a depth of 450 mm.
7. Putting It Together
Fit the posts into the created housings in the rafters. When they connect, drill a pilot hole through the top of the rafter and secure the rafter and the post together with two galvanized nails. Make sure that you use a wooden mallet to make sure the posts fit properly before you hammer in the nails.
8. Bracing The Structure
Space the uprights accurately and ensure that they are square. Once it is, brace the structure with three lengths of timber to add some strength to the structure.
9. Making It Upright
Raise one side of the pergola into the post holes and prop it up with some temporary supports. This is the time to make sure that the posts are parallel with each other.
10. Everything Falling Together
Raise the other side of the pergola and use a level to make sure that the rafters are at the same height. You might have to adjust the heights of the post holes in order to make them all the same height. Then add concrete to the post holes and leave it to set for about two days.
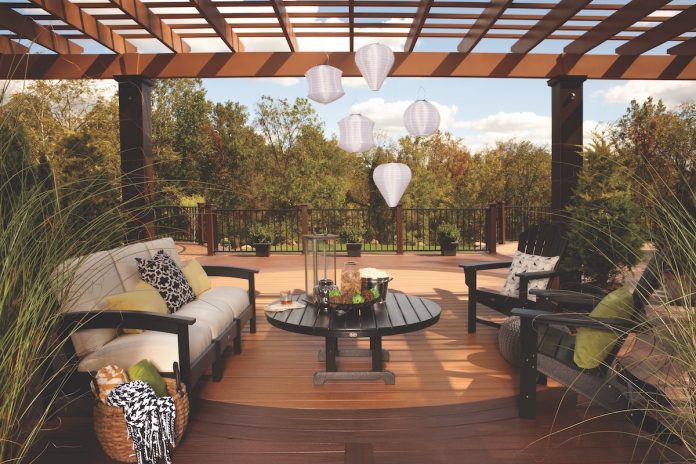
Building a pergola can be a great accent piece to the outdoors of your home. If you’re interested in making the upgrade, be sure to speak to a professional to see if the kit you’re buying is right for what you’re looking for.


